
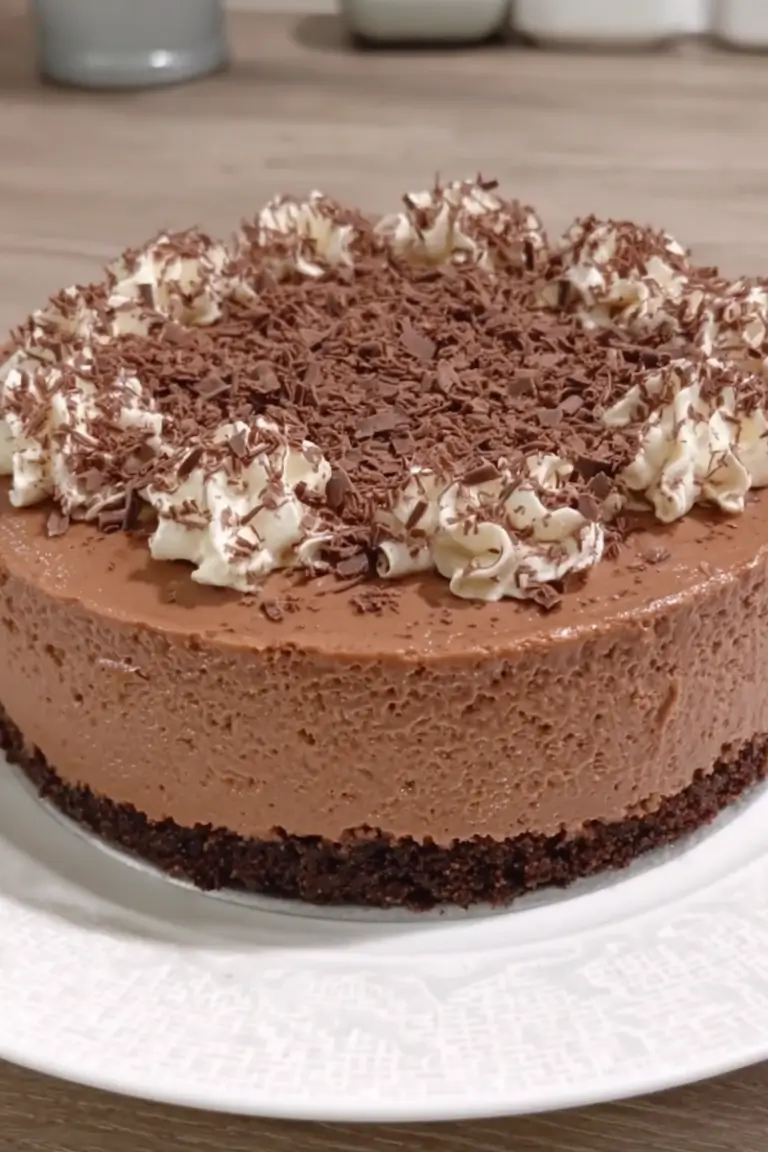
The Decadent Chocolate Cheesecake is one of the richest, creamiest, and most indulgent no-bake desserts you can make at home. This Ultimate Decadent Chocolate Cheesecake Delight combines a crunchy chocolate biscuit crust with a smooth, airy chocolate cream filling that melts in your mouth. Perfect for celebrations, dinner parties, or whenever you’re craving a luxurious chocolate treat, this recipe delivers bakery-level results with simple steps and no oven required.
Why You’ll Love This Decadent Chocolate Cheesecake
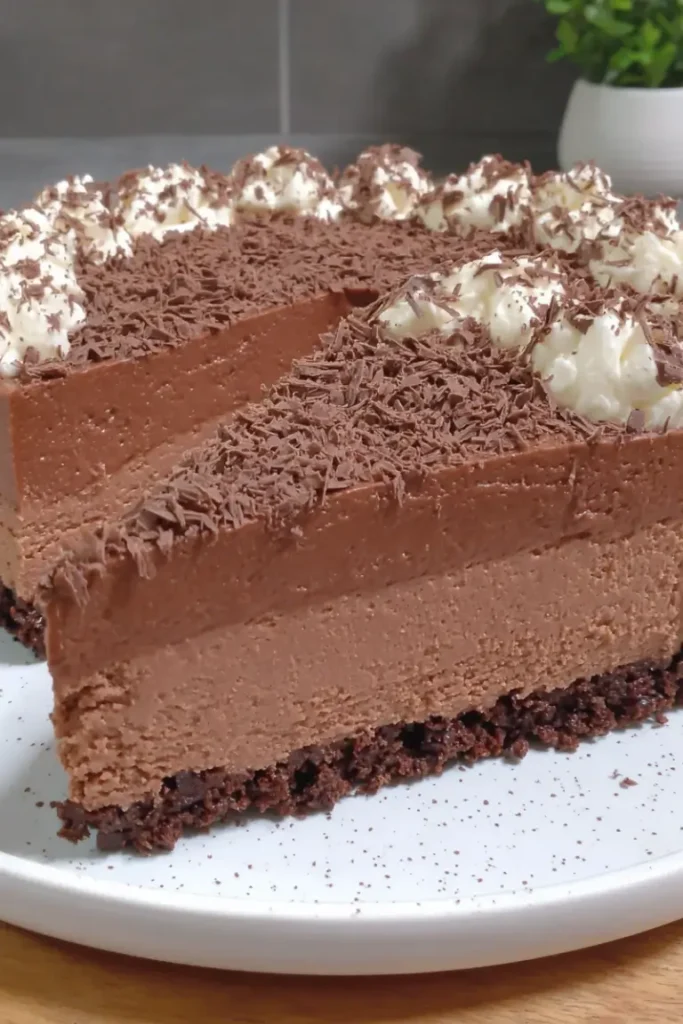
This cheesecake is more than just a dessert—it’s a full chocolate experience. The base is buttery and crisp, made from crushed chocolate biscuits, while the filling is light yet deeply rich thanks to whipped cream and melted dark chocolate.
Here’s why it stands out:
- No baking required, making it beginner-friendly
- Ultra-creamy texture with a light mousse-like finish
- Deep chocolate flavor from both cocoa and melted chocolate
- Perfect make-ahead dessert for parties and holidays
- Beautiful presentation with minimal effort
It’s the kind of dessert that looks impressive but is surprisingly simple to prepare.
Ingredients for Decadent Chocolate Cheesecake
Crust Ingredients
- 200g chocolate biscuits, finely crushed
- 100g melted butter
Cheesecake Filling
- 300g cream cheese, softened
- 1 cup dark chocolate, melted and slightly cooled
- 1/2 cup powdered sugar
- 1 teaspoon vanilla extract
- 1 cup heavy cream (cold)
Topping
- 1/4 cup cocoa powder (for dusting)
- Chocolate shavings (optional but recommended)
Ingredient Notes & Substitutions
- Cream cheese: Use full-fat for the creamiest texture. Low-fat versions may produce a softer set.
- Dark chocolate: Choose 60–70% cocoa for a balanced bitterness. Milk chocolate can be used for a sweeter version.
- Heavy cream: Must be cold before whipping to achieve soft peaks.
- Chocolate biscuits: Digestive biscuits or Oreo-style cookies both work well.
- Dairy-free option: Replace cream cheese with plant-based cream cheese and use coconut cream instead of heavy cream.
- Gluten-free option: Use gluten-free chocolate cookies for the crust.
No alcohol or pork ingredients are used in this recipe, so it is naturally family-friendly.
Step-by-Step Instructions
Step 1 – Prepare the Crust
Crush the chocolate biscuits into fine crumbs using a food processor or rolling pin. Mix them with melted butter until the texture resembles wet sand. This mixture should hold together when pressed.
Press firmly into the bottom of a springform pan, creating an even layer. Use the back of a spoon or a glass to compact it well. Refrigerate for at least 20 minutes to set.
Step 2 – Make the Cream Cheese Base
In a large mixing bowl, beat the softened cream cheese until smooth and lump-free. This step is important for achieving a silky cheesecake texture.
Add powdered sugar and vanilla extract, then mix until fully combined and creamy.
Step 3 – Add Melted Chocolate
Pour in the melted dark chocolate slowly while mixing. The mixture will become thick, glossy, and deeply chocolate-flavored. Make sure the chocolate is not too hot, or it may affect the texture.
Step 4 – Whip the Cream
In a separate chilled bowl, whip the heavy cream until soft peaks form. This gives the cheesecake its light, airy structure.
Gently fold the whipped cream into the chocolate mixture using a spatula. Avoid overmixing to keep the filling fluffy.
Step 5 – Assemble the Cheesecake
Pour the filling over the chilled biscuit crust. Smooth the top using a spatula or spoon for a clean finish.
Tap the pan lightly on the counter to remove air bubbles.
Step 6 – Chill Until Set
Refrigerate the cheesecake for at least 4 hours, preferably overnight. This allows it to firm up and develop its full flavor.
Step 7 – Add Final Toppings
Before serving, dust the top with cocoa powder for a rich finish. Add chocolate shavings if desired for extra texture and visual appeal.
Pro Tips for Success
- Always use room-temperature cream cheese for smooth mixing
- Chill your mixing bowl before whipping cream for best volume
- Let melted chocolate cool slightly before adding to prevent curdling
- Press the crust firmly to avoid crumbling when slicing
- Refrigerate overnight for the cleanest slices
- Use a warm knife (wiped clean between cuts) for perfect presentation
Flavor Variations
- White Chocolate Version – Replace dark chocolate with white chocolate for a sweeter profile
- Mint Chocolate Cheesecake – Add 1/2 teaspoon peppermint extract to the filling
- Nutty Crunch Version – Add crushed hazelnuts or almonds to the crust
- Espresso Chocolate Cheesecake – Mix 1 teaspoon instant espresso powder into the chocolate
- Berry Chocolate Twist – Top with fresh raspberries or strawberry compote
Serving Suggestions
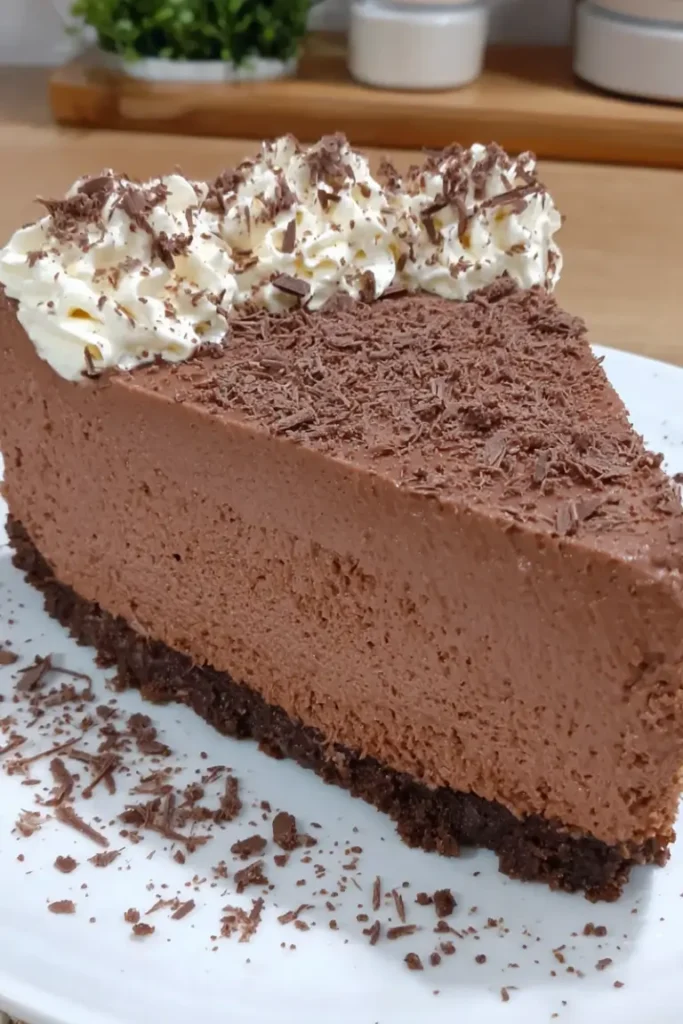
This cheesecake is best served chilled straight from the refrigerator. It pairs beautifully with:
- Fresh berries like raspberries or strawberries
- A drizzle of chocolate or caramel sauce
- A scoop of vanilla ice cream for extra indulgence
- Whipped cream and mint leaves for a fresh contrast
For special occasions, serve it as a centerpiece dessert after a light meal to let its richness shine.
Storage and Freezing Instructions
- Refrigerator: Store covered for up to 5 days
- Freezer: Freeze slices individually wrapped for up to 2 months
- Thawing: Defrost overnight in the refrigerator before serving
To maintain texture, avoid repeated freezing and thawing.
Nutrition Facts (Per Serving)
(Approximate values based on 10 servings)
| Nutrient | Amount |
|---|---|
| Calories | 420 kcal |
| Protein | 6 g |
| Carbohydrates | 32 g |
| Fat | 30 g |
| Fiber | 3 g |
| Sodium | 180 mg |
FAQ About Decadent Chocolate Cheesecake
Can I make this cheesecake ahead of time?
Yes, this cheesecake is ideal for making ahead. In fact, it tastes better after chilling overnight because the flavors deepen and the texture firms up perfectly.
Why is my cheesecake not setting properly?
This usually happens if the whipped cream wasn’t whipped enough or if the mixture was overmixed. Make sure you fold gently and chill for at least 4 hours.
Can I use milk chocolate instead of dark chocolate?
Yes, but the cheesecake will be significantly sweeter and less intense. Dark chocolate gives a richer, more balanced flavor.
Do I need a springform pan?
A springform pan is highly recommended because it makes removing the cheesecake much easier without damaging the sides.
Can I freeze the cheesecake?
Absolutely. Wrap it tightly and freeze for up to 2 months. Just thaw it in the refrigerator before serving.
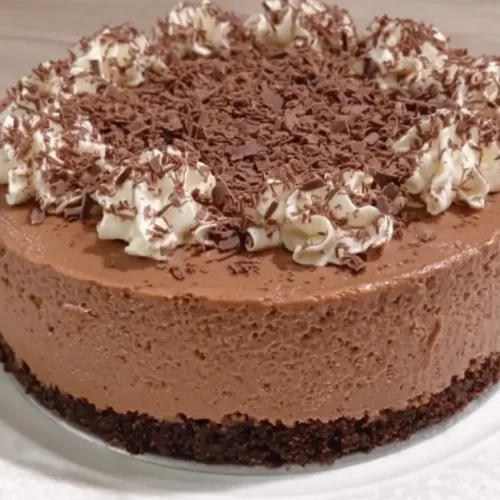
Decadent Chocolate Cheesecake

Equipment
- springform pan
- mixing bowls
- electric mixer
- spatula
- food processor or rolling pin for crushing biscuits
Ingredients
- 200 g chocolate biscuits, finely crushed
- 100 g butter, melted
- 300 g cream cheese, softened
- 1 cup dark chocolate, melted and slightly cooled
- 1/2 cup powdered sugar
- 1 tsp vanilla extract
- 1 cup heavy cream, cold
- 1/4 cup cocoa powder (for dusting)
- chocolate shavings (optional)
Instructions
- Crush chocolate biscuits into fine crumbs and mix with melted butter until combined. Press firmly into a springform pan and refrigerate to set.
- Beat softened cream cheese until smooth, then mix in powdered sugar and vanilla extract until creamy.
- Slowly add melted dark chocolate and mix until fully combined and glossy.
- Whip cold heavy cream to soft peaks, then gently fold it into the chocolate mixture to keep it light and airy.
- Pour filling over the chilled crust and smooth the top evenly. Tap gently to remove air bubbles.
- Refrigerate for at least 4 hours or overnight until fully set and firm.
- Dust with cocoa powder and top with chocolate shavings before serving chilled.
Notes
Nutrition
Final Thoughts
This Ultimate Decadent Chocolate Cheesecake Delight is the perfect combination of simplicity and indulgence. With its creamy chocolate filling, crunchy biscuit base, and elegant finish, it’s a dessert that never fails to impress. Whether you’re making it for a celebration or just treating yourself, this no-bake cheesecake delivers rich flavor and smooth texture in every bite.