
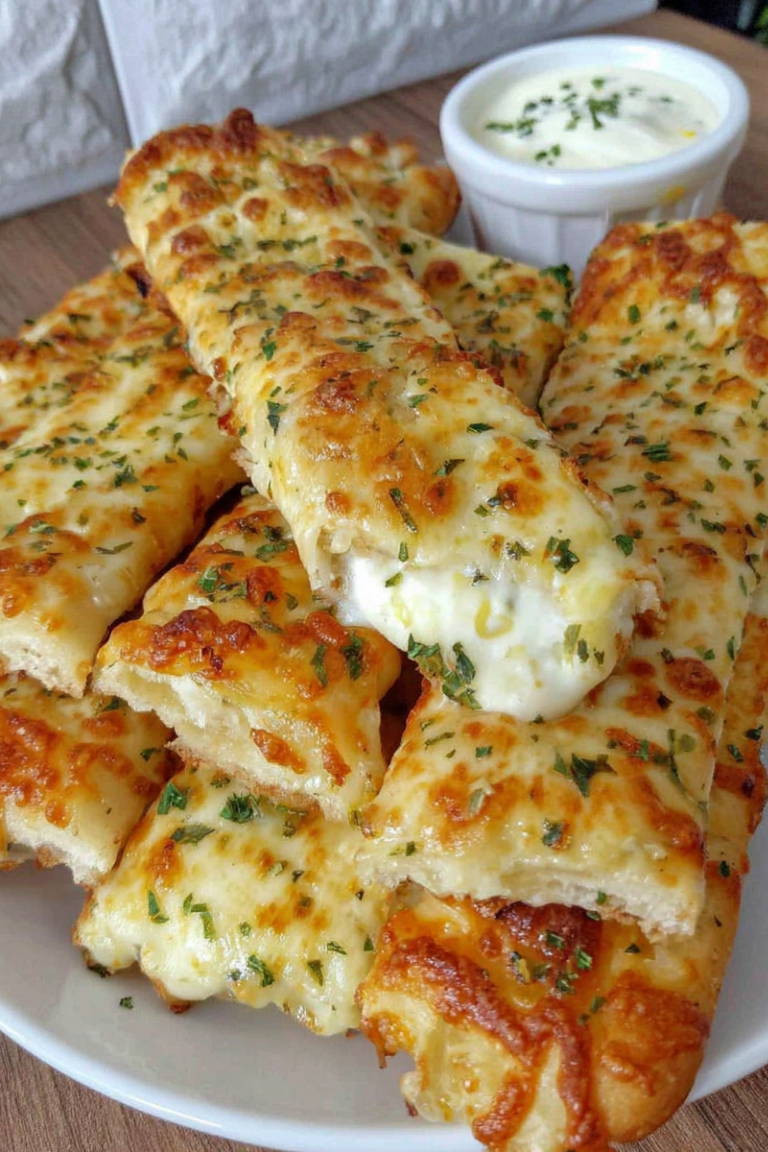
If you’ve ever wanted a snack that’s crispy on the outside, soft and fluffy inside, and loaded with gooey, cheesy garlic goodness, then these Garlic Cheese Fingers are exactly what you need. This recipe takes simple pizza dough and transforms it into irresistible cheesy strips that are perfect for sharing—or keeping all to yourself!
Why You’ll Love This Garlic Cheese Fingers Recipe
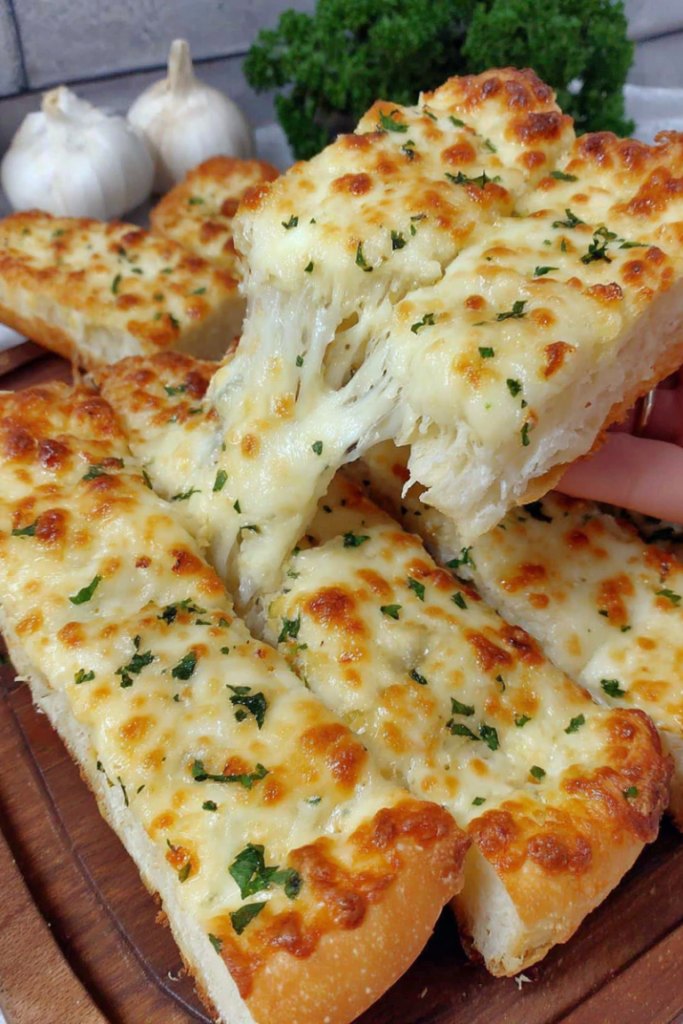
Garlic Cheese Fingers are a Canadian classic, especially popular in Atlantic provinces. What makes this version special?
- Crispy edges, soft center: The dough is baked to perfection for that satisfying crunch.
- Rich, buttery garlic flavor: Garlic butter is generously spread under a thick layer of mozzarella and parmesan.
- Easy and versatile: Whether you make your dough from scratch or use store-bought, these come together quickly.
- Perfect for dipping: Serve with marinara, donair sauce, or even ranch for a crowd-pleasing appetizer.
This recipe is simple, family-friendly, and perfect for game nights, parties, or just a cozy night in.
Ingredients for Garlic Cheese Fingers
For the Dough
- 2 ½ cups all-purpose flour
- 1 tsp salt
- 1 tsp sugar
- 1 tbsp olive oil
- 1 cup warm water
- 2 tsp instant yeast
Tip: You can use store-bought pizza dough to save time—this works just as well.
For the Garlic Butter
- ½ cup (1 stick) unsalted butter, melted
- 4 cloves garlic, minced
- ½ tsp garlic salt (optional)
- ½ tsp black pepper
- ½ tsp dried oregano
For the Cheese Topping
- 2 cups shredded mozzarella
- ½ cup grated parmesan
Optional: Sprinkle fresh parsley after baking for color and a touch of freshness.
Ingredient Notes and Substitutions
- Butter: Can substitute with olive oil for a lighter version.
- Cheese: For a sharper taste, swap part of the mozzarella with provolone or cheddar.
- Dough: Gluten-free flour blend works if you need a gluten-free version, but expect a slightly different texture.
- Garlic: Roasted garlic gives a sweeter, milder flavor if you prefer it less pungent.
Step-by-Step Instructions
Step 1 – Prepare the Dough
- In a large bowl, combine warm water, sugar, and yeast. Let sit 5–10 minutes until foamy.
- Add flour, salt, and olive oil. Knead until smooth and elastic, about 8–10 minutes.
- Cover and let rise in a warm place until doubled in size, about 1 hour.
Step 2 – Make Garlic Butter
- While dough rises, melt butter in a small bowl.
- Add minced garlic, garlic salt, black pepper, and oregano. Mix well.
- Set aside to let flavors infuse.
Step 3 – Shape and Top the Fingers
- Preheat oven to 500°F (260°C).
- Roll dough into a rectangle, about ½ inch thick, on a lightly floured surface.
- Transfer to a greased baking sheet.
- Brush garlic butter generously over the dough.
- Sprinkle mozzarella and parmesan evenly on top.
Step 4 – Bake to Perfection
- Bake for 9–11 minutes, until the cheese is bubbly and golden brown.
- Remove from oven and let cool for 2–3 minutes.
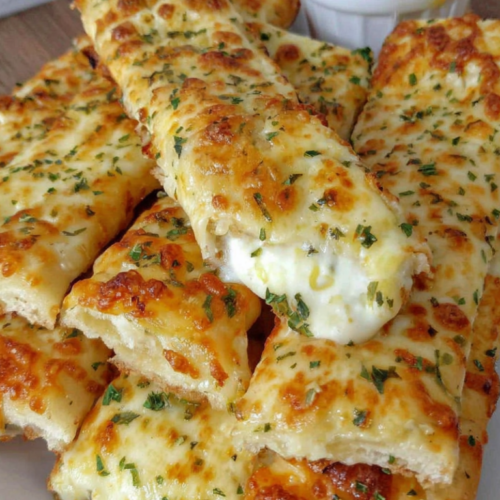
- Slice into long “fingers” and serve immediately.
Pro Tips for Success
- Hot oven: High temperature ensures crispy edges.
- Even cheese layer: Distribute cheese evenly to prevent burning.
- Fresh garlic: Adds a vibrant flavor; avoid pre-minced jars if possible.
- Serve warm: Garlic Cheese Fingers are best right out of the oven.
- Optional broil: Broil 1–2 minutes at the end for extra golden cheese.
- Avoid soggy dough: Don’t overload with butter; too much can make it greasy.
Flavor Variations
- Spicy: Sprinkle red pepper flakes before baking.
- Herby: Add fresh rosemary or thyme to the garlic butter.
- Cheesy mix: Blend mozzarella, cheddar, and gouda for a richer flavor.
- Stuffed: Fold dough over a mix of cream cheese and herbs for a stuffed version.
- Vegan: Use plant-based butter and vegan cheese.
Serving Suggestions

- Marinara or pizza sauce for dipping
- Donair or garlic yogurt sauce for a Canadian twist
- Serve alongside pasta, soup, or salad for a full meal
- Great finger food for game nights, parties, or kids’ lunch boxes
Storage and Freezing Instructions
- Short-term: Store cooled fingers in an airtight container in the fridge for up to 3 days. Reheat in the oven to restore crispiness.
- Freezing: Wrap tightly in foil or plastic wrap, then freeze for up to 2 months. Reheat in the oven at 375°F (190°C) until warmed through.
Nutrition Facts (Per Serving – 1 Finger, approx.)
| Nutrient | Amount |
|---|---|
| Calories | 200 kcal |
| Protein | 8 g |
| Carbohydrates | 18 g |
| Fat | 12 g |
| Fiber | 1 g |
| Sodium | 310 mg |
FAQ About Garlic Cheese Fingers
H3: Can I make these ahead of time?
Yes! You can prepare the dough and garlic butter ahead. Assemble and refrigerate, then bake fresh when ready to serve. This keeps them crispy and delicious.
H3: Can I use frozen pizza dough?
Absolutely. Let it thaw and rise slightly before spreading the toppings. It will still bake up golden and cheesy.
H3: How do I prevent the garlic from burning?
Mix garlic into melted butter and brush over the dough rather than sprinkling raw cloves directly. Baking at high temperature for a short time also helps prevent burning.
H3: Can I make them gluten-free?
Yes, using a gluten-free flour blend. Texture will be slightly different, but flavor remains amazing. Consider adding xanthan gum for better dough elasticity.
H3: What’s the best dipping sauce?
Classic marinara is perfect, but creamy donair sauce or garlic aioli are also crowd favorites.
Garlic Cheese Fingers
Equipment
- mixing bowl
- baking sheet
- pastry brush
- oven
Ingredients
- 2 1/2 cups all-purpose flour
- 1 tsp salt
- 1 tsp sugar
- 1 tbsp olive oil
- 1 cup warm water
- 2 tsp instant yeast
- 1/2 cup unsalted butter, melted
- 4 cloves garlic, minced
- 1/2 tsp garlic salt
- 1/2 tsp black pepper
- 1/2 tsp dried oregano
- 2 cups shredded mozzarella cheese
- 1/2 cup grated parmesan cheese
Instructions
- In a large bowl, combine warm water, sugar, and yeast. Let sit for 5–10 minutes until foamy.
- Add flour, salt, and olive oil. Knead until smooth and elastic, about 8–10 minutes.
- Cover the dough and let rise in a warm place until doubled in size, about 1 hour.
- While dough rises, melt the butter and mix with garlic, garlic salt, black pepper, and oregano.
- Preheat oven to 500°F (260°C). Roll dough into a rectangle about 1/2 inch thick and transfer to a greased baking sheet.
- Brush garlic butter generously over the dough, then sprinkle mozzarella and parmesan evenly on top.
- Bake for 9–11 minutes until the cheese is bubbly and golden. Cool briefly, slice into fingers, and serve.
Notes
Nutrition
Final Thoughts
These Garlic Cheese Fingers are the ultimate snack: cheesy, buttery, garlicky, and downright addictive. Whether you’re serving them at a party or enjoying a cozy night in, they’re always a hit. With this step-by-step guide, you can make them crispy on the edges, soft in the center, and loaded with flavor every single time. Grab your dough, melt that butter, and prepare for a finger-licking treat that everyone will love!