
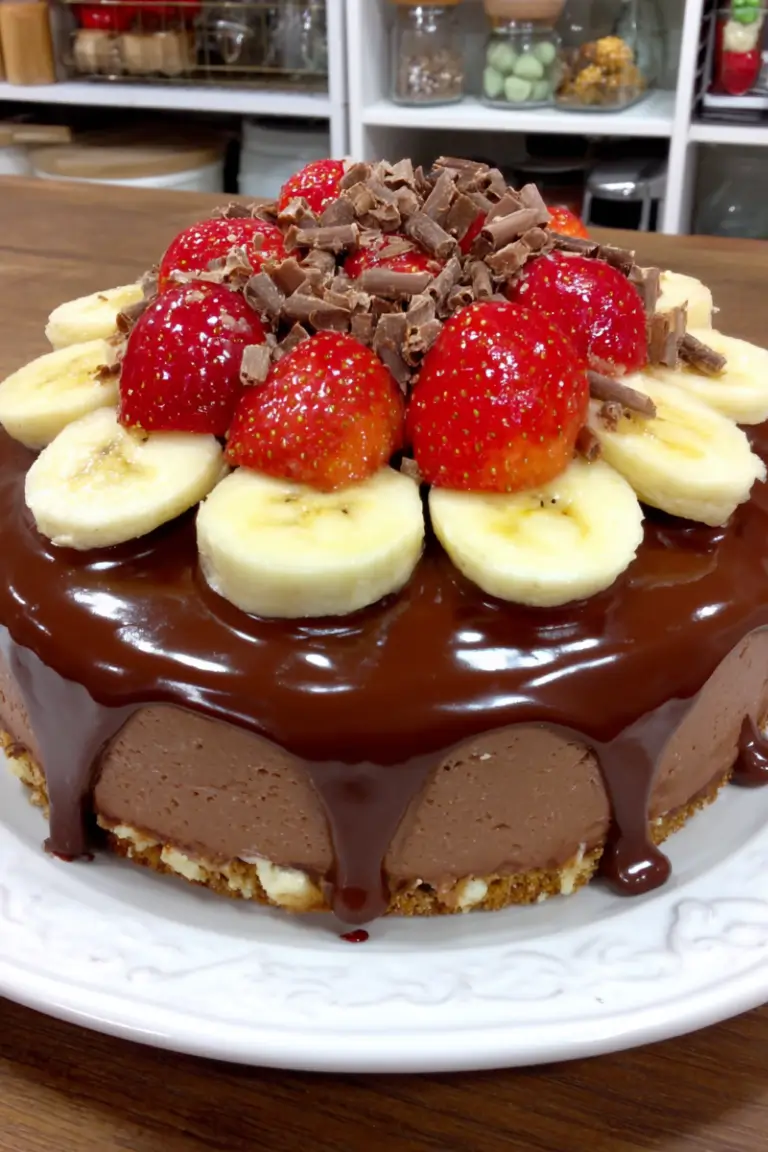
No-Flour Banana Chocolate Mousse Cake is a rich, creamy dessert that combines the natural sweetness of ripe bananas with the deep flavor of chocolate in a light mousse texture. This eggless and flourless cake is perfect when you want something indulgent yet simple to prepare. With no complicated baking techniques and minimal ingredients, this dessert delivers a silky mousse layered into a cake-style presentation that feels both elegant and comforting.
Unlike traditional cakes that rely on flour for structure, this recipe uses bananas and whipped cream to create a naturally smooth and airy texture. The result is a chilled mousse cake that slices beautifully and melts in your mouth with every bite.
Whether you’re making dessert for a family dinner, a celebration, or simply using up overripe bananas, this recipe is easy, satisfying, and guaranteed to impress.
Why You’ll Love This No-Flour Banana Chocolate Mousse Cake
There are many reasons this dessert stands out from typical cakes and mousses.
Naturally Flourless
This recipe contains no flour, making it a great option for anyone looking for gluten-free desserts.
Eggless and Easy
No eggs or complicated baking techniques are required, making it beginner-friendly.
Rich Chocolate Flavor
The chocolate adds depth and balances the natural sweetness of bananas.
Light Yet Creamy Texture
Because it’s mousse-based, the cake feels light and airy while still tasting decadent.
Minimal Ingredients
You likely already have most of the ingredients in your kitchen.
Perfect Make-Ahead Dessert
Since the cake needs to chill before serving, it’s ideal for preparing a few hours ahead of time.
Ingredients for No-Flour Banana Chocolate Mousse Cake
Banana Mousse Layer
- 3 large ripe bananas
- 200 ml fresh cream (heavy whipping cream works best)
- 2 tablespoons honey or maple syrup
- 3–4 drops lemon juice
Chocolate Layer
- 120 g dark or semi-sweet chocolate
- ½ cup whipped cream (optional, for lighter chocolate mousse)
Optional Garnish
- Banana slices
- Chocolate shavings
- Cocoa powder
- Whipped cream
Ingredient Notes
Use Very Ripe Bananas
Bananas with brown spots are ideal. They are sweeter and blend smoothly, which improves the mousse texture.
Choose Good Quality Chocolate
Dark chocolate with 50–70% cocoa gives the best balance of sweetness and richness.
Cream Options
Heavy whipping cream creates the most stable mousse. If you want a dairy-free version, coconut cream works beautifully.
Natural Sweeteners
Honey, maple syrup, or agave syrup all work well. Adjust sweetness depending on how ripe the bananas are.
Lemon Juice Matters
Just a few drops prevent the bananas from browning and brighten the flavor of the mousse.
Step-by-Step Instructions
Step 1 – Prepare the Banana Puree
Peel the ripe bananas and slice them into small pieces. Place them in a blender or food processor. Add the honey and lemon juice.
Blend until the mixture becomes completely smooth and creamy. There should be no lumps of banana remaining.
This puree will form the base of the mousse.
Step 2 – Whip the Cream
In a chilled mixing bowl, whip the fresh cream using a hand mixer or whisk.
Whip until soft peaks form. The cream should be airy and light but still smooth.
Be careful not to overwhip, as the cream can become grainy.
Step 3 – Combine Banana and Cream
Gently fold the banana puree into the whipped cream.
Use a spatula and fold slowly to maintain the airy texture. Continue folding until the mixture becomes evenly combined.
At this stage, you will have a light banana mousse.
Step 4 – Melt the Chocolate
Break the chocolate into small pieces and melt it using one of the following methods:
Double Boiler Method
Place the chocolate in a heatproof bowl over simmering water and stir until melted.
Microwave Method
Heat in short 20-second intervals, stirring between each interval until smooth.
Let the melted chocolate cool slightly before mixing.
Step 5 – Create the Chocolate Mousse Layer
Take a portion of the banana mousse and gently mix it with the melted chocolate.
For an extra fluffy texture, fold in a small amount of whipped cream.
This mixture becomes the chocolate mousse layer.
Step 6 – Assemble the Mousse Cake
Line a small cake mold or springform pan with parchment paper.
Add layers in this order:
- Banana mousse layer
- Chocolate mousse layer
- Remaining banana mousse
Smooth the top with a spatula.
Tap the pan lightly to remove any air bubbles.
Step 7 – Chill the Cake
Cover the mold and place it in the refrigerator.
Allow the cake to chill for at least 3–4 hours, or overnight for best results.
During this time the mousse will firm up and develop a sliceable cake texture.
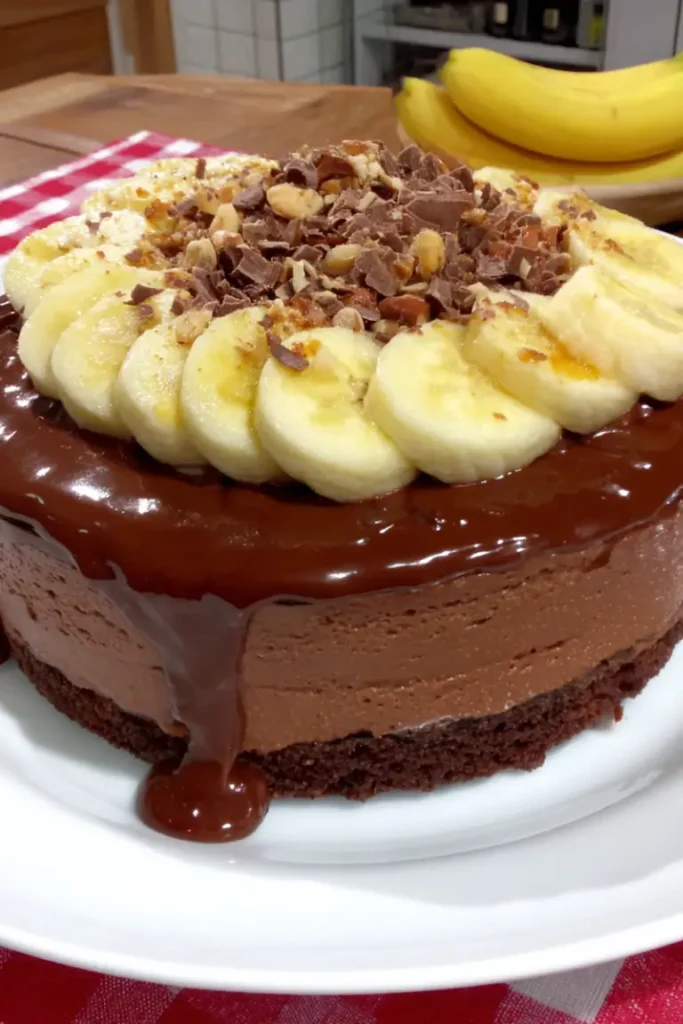
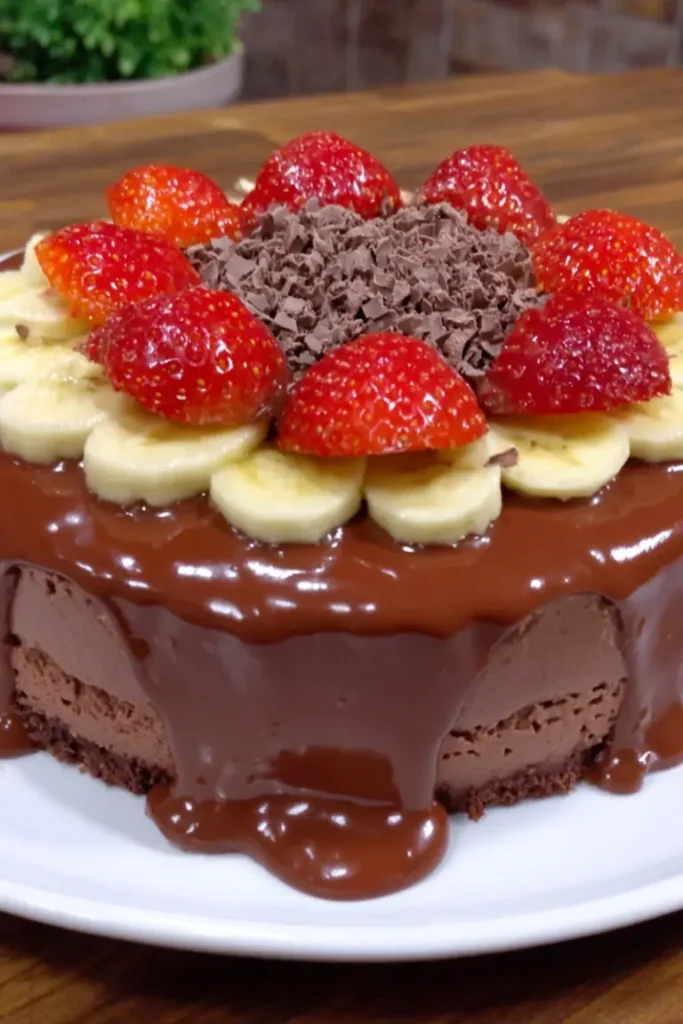
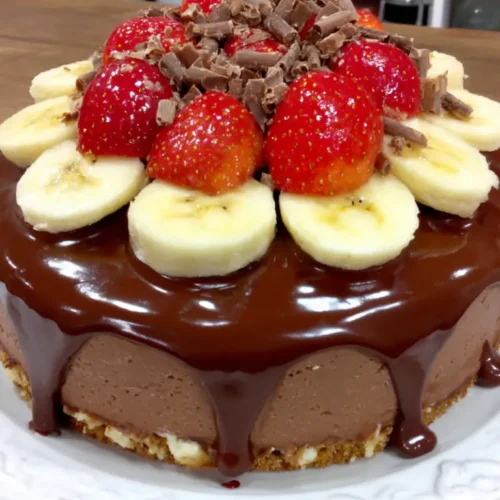
Step 8 – Garnish and Serve
Once the mousse cake is fully set, remove it from the mold.
Decorate with:
- Chocolate shavings
- Banana slices
- Cocoa powder
- Swirls of whipped cream
Slice gently with a warm knife for clean cuts.
Serve chilled.
Pro Tips for Success
Use Cold Cream
Cold cream whips faster and holds its structure better.
Choose Spotty Bananas
Overripe bananas are sweeter and blend more smoothly.
Let Chocolate Cool Slightly
Hot chocolate can deflate whipped cream, so allow it to cool before mixing.
Fold Gently
Use slow folding motions to keep the mousse light and airy.
Chill Long Enough
The mousse needs time to set. Overnight chilling gives the best texture.
Use a Springform Pan
It makes removing the cake easier without damaging the layers.
Flavor Variations
You can easily customize this mousse cake with different flavors.
Peanut Butter Banana Mousse Cake
Add 2 tablespoons peanut butter to the banana puree.
Chocolate Hazelnut Version
Fold in a spoonful of hazelnut spread with the chocolate mousse layer.
Coconut Banana Mousse Cake
Replace dairy cream with coconut cream for a tropical flavor.
Mocha Banana Chocolate Mousse Cake
Add 1 teaspoon instant coffee powder to the melted chocolate.
Berry Banana Mousse Cake
Layer fresh strawberries or raspberries between mousse layers.
Serving Suggestions
This mousse cake works beautifully as a centerpiece dessert.
Serve it with:
- Fresh berries
- Vanilla yogurt or whipped cream
- A drizzle of chocolate sauce
- A dusting of cocoa powder
For a more elegant presentation, serve slices with a few caramelized banana pieces on the plate.
It also pairs wonderfully with coffee, cappuccino, or warm herbal tea.
Storage and Freezing Instructions
Refrigerator Storage
Store leftover mousse cake in an airtight container in the refrigerator.
It will stay fresh for 2–3 days.
Freezing
You can freeze the mousse cake for longer storage.
- Wrap slices tightly in plastic wrap.
- Place them in a freezer-safe container.
- Freeze for up to 1 month.
To serve, thaw overnight in the refrigerator.
Nutrition Facts (Per Serving)
| Nutrient | Amount |
|---|---|
| Calories | 280 kcal |
| Protein | 4 g |
| Carbohydrates | 32 g |
| Fat | 15 g |
| Fiber | 3 g |
| Sodium | 45 mg |
Nutrition values are approximate and may vary depending on ingredients used.
FAQ About No-Flour Banana Chocolate Mousse Cake
Can I make this mousse cake dairy-free?
Yes, you can easily make a dairy-free version. Replace the whipping cream with chilled coconut cream. Coconut cream whips well and creates a similar mousse texture. Be sure to use dairy-free dark chocolate if needed.
Why is my mousse not setting properly?
If the mousse is too soft, it may not have been chilled long enough. The mousse requires several hours in the refrigerator to firm up. Using cream with lower fat content can also affect the texture, so heavy whipping cream is recommended.
Can I add a crust to this cake?
Yes. Although the recipe is naturally crustless, you can add a simple base if you prefer. A crushed biscuit crust mixed with melted butter works well. Press it into the pan before adding the mousse layers.
How ripe should the bananas be?
The bananas should be very ripe with brown spots on the peel. These bananas are sweeter and softer, making them ideal for mousse. Underripe bananas can taste starchy and may not blend smoothly.
Can I make this dessert ahead of time?
Absolutely. In fact, this dessert is best when made ahead. Preparing it the night before allows the mousse to fully set and develop its smooth texture.
What type of chocolate works best?
Semi-sweet or dark chocolate with around 60% cocoa content works best. It balances the sweetness of bananas while providing a rich chocolate flavor.
No-Flour Banana Chocolate Mousse Cake
Equipment
- blender or food processor
- mixing bowl
- hand mixer or whisk
- spatula
- heatproof bowl or double boiler
- springform pan or cake mold
- refrigerator
Ingredients
- 3 large ripe bananas
- 200 ml fresh cream (heavy whipping cream)
- 2 tbsp honey or maple syrup
- 3–4 drops lemon juice
- 120 g dark or semi-sweet chocolate
- 1/2 cup whipped cream (optional, for lighter chocolate mousse)
- banana slices (optional garnish)
- chocolate shavings (optional garnish)
- cocoa powder (optional garnish)
- whipped cream (optional garnish)
Instructions
- Peel the ripe bananas and slice them into pieces. Place them in a blender or food processor with honey and lemon juice, then blend until completely smooth and creamy with no lumps.
- In a chilled mixing bowl, whip the fresh cream using a hand mixer or whisk until soft peaks form. The cream should be light and airy but still smooth.
- Gently fold the banana puree into the whipped cream using a spatula. Fold slowly until evenly combined to maintain the light mousse texture.
- Break the chocolate into small pieces and melt it using a double boiler or microwave in short intervals, stirring until smooth. Let the melted chocolate cool slightly.
- Mix a portion of the banana mousse with the melted chocolate. For a lighter texture, gently fold in a small amount of whipped cream to create the chocolate mousse layer.
- Line a small cake mold or springform pan with parchment paper. Add layers starting with banana mousse, followed by chocolate mousse, and finish with the remaining banana mousse. Smooth the top with a spatula.
- Cover the mold and refrigerate the cake for at least 3–4 hours or overnight until the mousse firms up and becomes sliceable.
- Remove the cake from the mold and garnish with chocolate shavings, banana slices, cocoa powder, or whipped cream. Slice with a warm knife and serve chilled.
Notes
Nutrition
Final Thoughts
This Amazing No-Flour Banana Chocolate Mousse Cake proves that desserts don’t need flour, eggs, or complicated techniques to be incredibly satisfying. The combination of ripe bananas, airy whipped cream, and rich chocolate creates a mousse cake that feels luxurious while still being easy to make.
It’s the perfect recipe when you want a dessert that is simple, elegant, and naturally gluten-free. Whether you serve it for guests or enjoy it as a cozy family treat, every slice delivers creamy banana flavor and smooth chocolate indulgence.
Once you try this recipe, it may become one of your favorite ways to transform ripe bananas into a truly special dessert.