
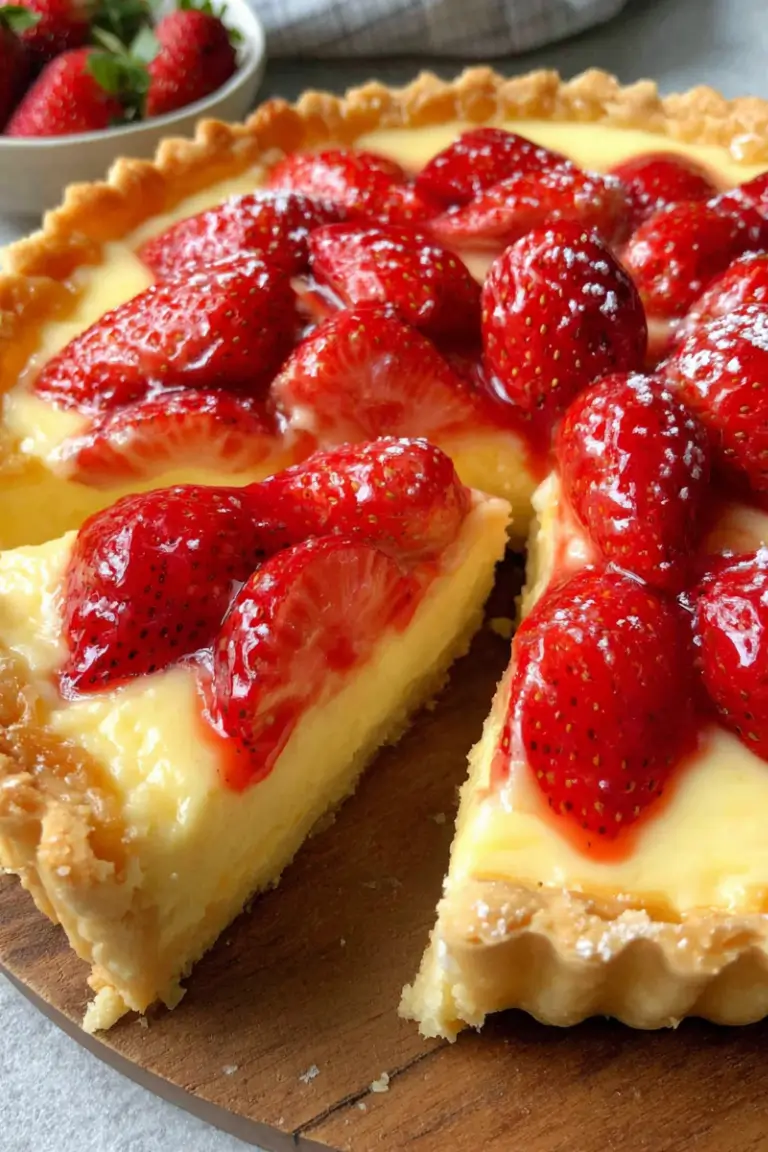
Strawberry Custard Tart is a timeless dessert that combines a crisp buttery crust, silky vanilla custard, and fresh, juicy strawberries for a treat that feels both elegant and comforting. Whether you’re making it for a family gathering, a weekend bake, or a special celebration, this recipe delivers beautiful results with simple ingredients and easy-to-follow steps.
Why You’ll Love This Strawberry Custard Tart
This recipe strikes the perfect balance between simplicity and sophistication. The tart shell is tender and lightly sweet, the custard is smooth and rich without being heavy, and the strawberries bring a burst of freshness that ties everything together.
You’ll love how approachable this recipe is—even if you’re new to baking. The steps are straightforward, and the ingredients are pantry-friendly. Plus, the final result looks like something straight out of a bakery display.
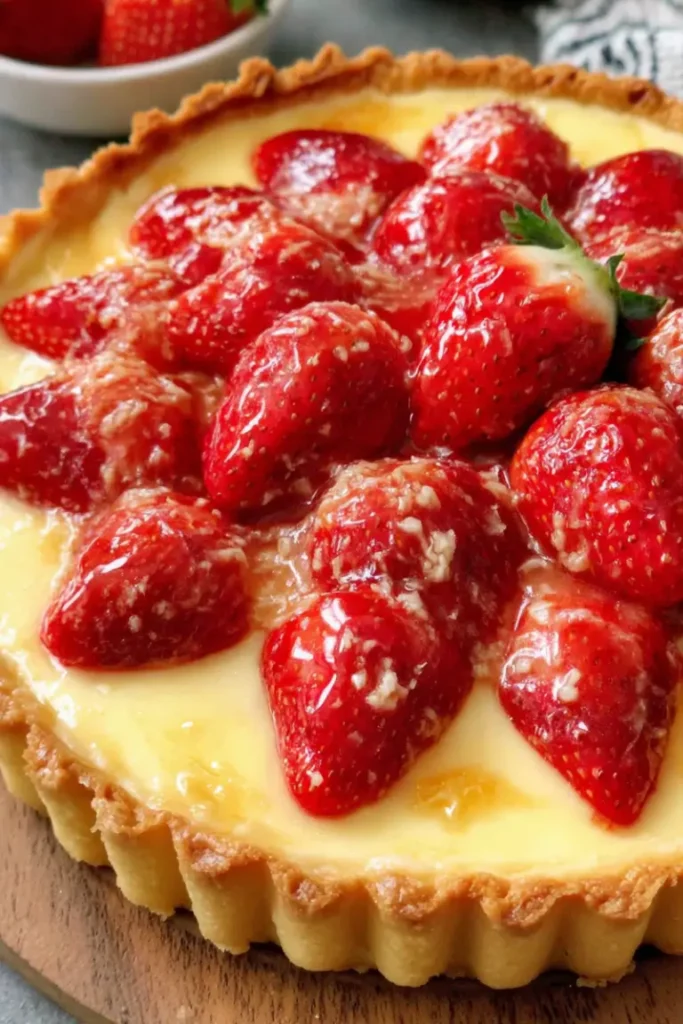
It’s also a versatile dessert. You can serve it at brunch, as an afternoon treat, or as a light finish to a hearty meal. The glossy strawberry topping gives it a stunning, professional finish without requiring advanced skills.
Ingredients for Strawberry Custard Tart
For the Tart Crust
- 1 1/2 cups all-purpose flour
- 1/2 cup unsalted butter (cold and cubed)
- 1/3 cup powdered sugar
- 1 egg yolk
- 2 tablespoons cold water
For the Custard Filling
- 2 cups whole milk
- 1/2 cup granulated sugar
- 3 egg yolks
- 1/4 cup cornstarch
- 1 teaspoon vanilla extract
For the Topping
- 2 cups fresh strawberries (hulled and halved)
- 1/4 cup apricot jam
- 1 tablespoon water
Ingredient Notes
- Butter: Keep it cold for a flaky, tender crust.
- Milk: Whole milk gives the creamiest custard, but you can use low-fat milk for a lighter version.
- Cornstarch: This thickens the custard and ensures a smooth texture.
- Strawberries: Use ripe, fresh strawberries for the best flavor and natural sweetness.
- Glaze substitute: If you don’t have apricot jam, you can use a light honey glaze or a simple sugar syrup.
Step-by-Step Instructions
Step 1 – Make the Tart Dough
In a mixing bowl, combine the flour and powdered sugar. Add the cold butter and rub it into the flour using your fingertips until the mixture resembles fine crumbs.
Step 2 – Form the Dough
Add the egg yolk and cold water. Mix gently until the dough comes together into a smooth ball. Avoid overworking the dough to keep it tender.
Step 3 – Chill the Dough
Shape the dough into a flat disk, wrap it, and refrigerate for at least 30 minutes. This helps relax the gluten and makes rolling easier.
Step 4 – Prepare and Bake the Crust
Preheat your oven to 350°F (175°C). Roll out the chilled dough and press it into a tart pan with fluted edges. Prick the base with a fork to prevent puffing.
Bake for 20–25 minutes, or until lightly golden. Remove from the oven and let it cool completely.
Step 5 – Heat the Milk
In a saucepan, gently heat the milk until it is warm but not boiling.
Step 6 – Mix the Custard Base
In a bowl, whisk together the egg yolks, sugar, and cornstarch until smooth and pale.
Step 7 – Temper the Eggs
Slowly pour the warm milk into the egg mixture while whisking continuously. This prevents the eggs from scrambling.
Step 8 – Cook the Custard
Return the mixture to the saucepan and cook over medium heat. Stir constantly until it thickens into a creamy custard.
Step 9 – Add Flavor and Cool
Remove from heat and stir in the vanilla extract. Allow the custard to cool completely before assembling.
Step 10 – Assemble the Tart
Spread the cooled custard evenly into the baked tart shell.
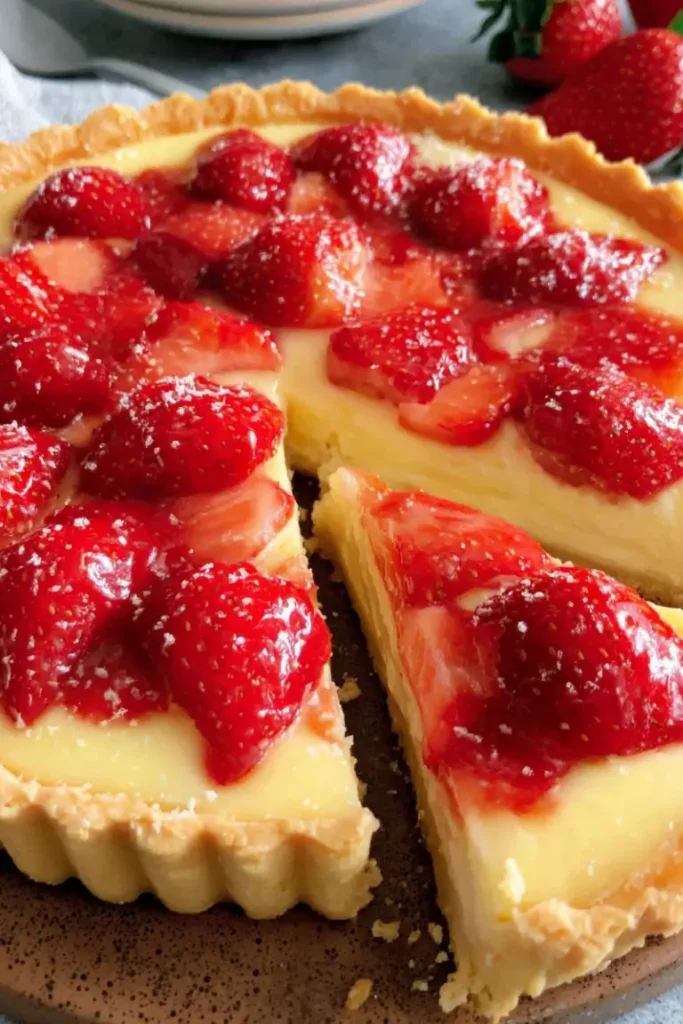
Step 11 – Add Strawberries
Arrange the strawberries neatly on top. You can place them in circles or rows for a decorative look.
Step 12 – Glaze the Tart
Heat the apricot jam with water until smooth, then brush it gently over the strawberries for a glossy finish.
Step 13 – Chill Before Serving
Refrigerate the tart for at least 1 hour to set the custard and enhance the flavors.
Pro Tips for Success
- Use cold butter when making the crust for the best texture.
- Don’t skip chilling the dough—it prevents shrinking during baking.
- Stir the custard constantly to avoid lumps or burning.
- Let the custard cool fully before assembling to keep the crust crisp.
- Arrange strawberries just before serving for the freshest look.
- Use a fine sieve if needed to ensure ultra-smooth custard.
Flavor Variations
- Mixed Berry Tart: Replace strawberries with raspberries, blueberries, or a mix.
- Citrus Twist: Add lemon or orange zest to the custard for a bright flavor.
- Chocolate Layer: Spread a thin layer of melted chocolate on the crust before adding custard.
- Nutty Crust: Add ground almonds to the crust for extra richness.
- Tropical Version: Use mango slices or kiwi for a refreshing variation.
Serving Suggestions
Serve this tart chilled for the best texture and flavor. It pairs beautifully with a cup of tea or coffee. For an extra indulgent touch, add a dollop of whipped cream or a scoop of vanilla ice cream on the side.
This dessert is perfect for spring and summer gatherings, brunch tables, or as a light yet satisfying finish to dinner.
Storage and Freezing Instructions
Store the tart in the refrigerator, covered, for up to 3 days. The custard should remain smooth and the fruit fresh.
Freezing is not recommended once assembled, as the custard and strawberries can lose their texture. However, you can freeze the baked tart shell separately for up to 1 month.
Nutrition Facts (Per Serving)
| Nutrient | Amount |
|---|---|
| Calories | 320 kcal |
| Protein | 6 g |
| Carbs | 42 g |
| Fat | 14 g |
| Fiber | 2 g |
| Sodium | 90 mg |
FAQ About Strawberry Custard Tart
Can I make the tart crust ahead of time?
Yes, you can prepare and bake the tart shell a day in advance. Store it in an airtight container at room temperature. This can save time when assembling the dessert.
How do I prevent a soggy crust?
Make sure the crust is fully baked and cooled before adding the custard. You can also brush a thin layer of melted chocolate over the crust to create a moisture barrier.
Can I use frozen strawberries?
Fresh strawberries are best for texture and appearance. If using frozen, thaw and drain them thoroughly to avoid excess moisture.
Why is my custard lumpy?
Lumps usually form if the custard is not stirred constantly or if the heat is too high. You can fix it by straining the custard through a fine sieve.
Can I make this recipe dairy-free?
Yes, substitute the milk with a plant-based alternative like almond or oat milk, and use dairy-free butter for the crust. The texture may vary slightly but will still be delicious.
Strawberry Custard Tart
Equipment
- mixing bowl
- tart pan
- Rolling Pin
- saucepan
- whisk
Ingredients
- 1 1/2 cups all-purpose flour
- 1/2 cup unsalted butter, cold and cubed
- 1/3 cup powdered sugar
- 1 egg yolk
- 2 tbsp cold water
- 2 cups whole milk
- 1/2 cup granulated sugar
- 3 egg yolks
- 1/4 cup cornstarch
- 1 tsp vanilla extract
- 2 cups fresh strawberries, hulled and halved
- 1/4 cup apricot jam
- 1 tbsp water
Instructions
- In a bowl, mix flour and powdered sugar. Add cold butter and rub until the mixture resembles fine crumbs.
- Add egg yolk and cold water, mixing gently until a smooth dough forms.
- Shape dough into a disk, wrap, and refrigerate for at least 30 minutes.
- Preheat oven to 350°F (175°C). Roll out dough, press into tart pan, prick base, and bake 20–25 minutes until golden. Cool completely.
- Heat milk in a saucepan until warm but not boiling.
- Whisk egg yolks, sugar, and cornstarch until smooth and pale.
- Slowly pour warm milk into the egg mixture while whisking continuously.
- Return mixture to saucepan and cook over medium heat, stirring constantly until thickened.
- Remove from heat, stir in vanilla, and let custard cool completely.
- Spread cooled custard evenly into the baked tart shell.
- Arrange strawberries on top in a decorative pattern.
- Heat apricot jam with water until smooth, then brush over strawberries for a glossy finish.
- Refrigerate for at least 1 hour before serving.
Notes
Nutrition
Final Thoughts
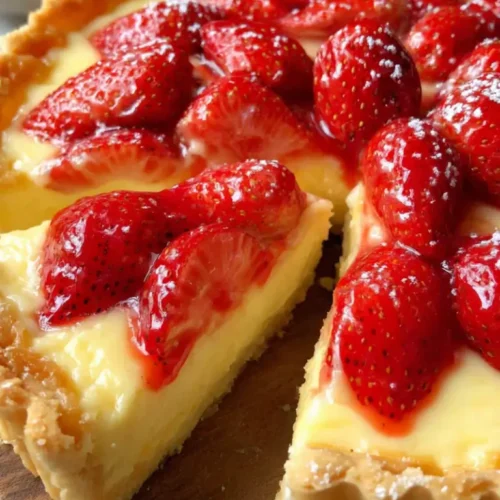
This Strawberry Custard Tart is proof that simple ingredients can create something truly special. With its crisp crust, creamy filling, and vibrant fruit topping, it’s a dessert that impresses without being complicated.
Whether you’re baking for loved ones or treating yourself, this recipe is one you’ll return to again and again. It’s fresh, flavorful, and wonderfully satisfying in every bite.